The decision to repair or replace a sump pump often starts with a quick online search. You type "replacing a sump pump youtube" into the search bar, hoping to find a straightforward video that makes it look easy. But a 10-minute tutorial doesn't always show the full picture—the corroded pipes, the stuck fittings, or the risk of an electrical mistake. Before you start disconnecting anything, let’s walk through the process together. This guide will help you understand the real-world steps, weigh the pros and cons of DIY, and make an informed choice to protect your home.
Key Takeaways
- Know the warning signs before it's too late: A sump pump rarely fails without warning. Pay attention to its age (over 10 years), strange noises, or constant cycling to catch problems before your basement is at risk of flooding.
- Get the small installation details right: A successful replacement hinges on crucial steps. Ensure the check valve faces the right way, the float switch moves freely, and you've drilled a weep hole to prevent airlock for a reliable, long-lasting installation.
- Decide if DIY is worth the risk: While replacing a sump pump yourself can save on labor costs, a professional guarantees the job is done correctly and handles any unexpected issues. Consider the value of your time and peace of mind before starting the project.
Is It Time to Replace Your Sump Pump?
That humming sound from the corner of your basement is easy to ignore—until it stops. A sump pump is your home's first line of defense against flooding, but like any appliance, it doesn’t last forever. Knowing the warning signs of a failing pump can save you from a water-logged disaster and give you peace of mind, especially during the Okanagan’s heavy rain or spring melt.
Most homeowners aren't sure what to look for, and that uncertainty can be stressful. The good news is you don’t have to be a plumbing expert to spot trouble. By checking a few key things, you can catch problems early and decide if a repair or replacement is on the horizon. Let’s walk through how to assess your pump’s health.
How to Check Its Age and Performance
First, consider its age. Most sump pumps have a lifespan of about 10 years. If yours is approaching that milestone, it’s time to pay closer attention. Beyond age, listen to how it operates. Does it turn on and off constantly, even during light rain? This frequent cycling could signal a problem. You should also listen for unusual sounds. A healthy pump has a smooth, consistent hum, while grinding or rattling noises often mean internal parts are worn out and failing. These are clear indicators that you should schedule a professional plumbing inspection.
Spotting Physical Damage and Wear
A quick visual check can reveal a lot. Look for any visible rust or corrosion on the pump itself. While a little surface rust might seem minor, it can weaken the casing and lead to leaks or mechanical failure. Also, check the sump pit for any signs of water around the motor, which should always stay dry. An unexpected spike in your energy bills can be another subtle clue, as a struggling pump has to work much harder, drawing more power than usual. If you notice any of these issues, it's a sign your pump is under stress and may not be protecting your home effectively.
Identifying Electrical and Mechanical Problems
Often, the problem isn't the pump motor but a smaller, critical component: the float switch. This switch tells the pump when to turn on and off as water levels rise and fall. If the float gets stuck or breaks, your pump might run nonstop until it burns out, or worse, fail to activate during a flood. You can test it by pouring a bucket of water into the sump pit to ensure the float rises and triggers the pump. If it doesn’t turn on, or if it seems to get stuck, you’ve found a serious problem that needs immediate attention from a drain and sewer professional.
Gather Your Tools and Materials
Getting organized before you start is the best way to make any home project feel less overwhelming. A quick trip to the garage or hardware store now will save you from running around with a wet basement later. Let’s walk through exactly what you’ll need to get this job done right. Think of it as setting up your station so everything is within arm's reach when you need it.
This project involves working with both water and electricity, so taking the time to prepare is non-negotiable. Having the right pump, the correct fittings, and your safety gear ready will make the entire process smoother and safer. If you open up your sump pit and find it’s full of sludge or debris, it’s a good idea to have it professionally cleaned to give your new pump the best start. A clean pit is essential for proper drain and sewer function.
The Basic Toolkit You'll Need
You probably have most of these tools already. The goal is to disconnect the old pump and connect the new one, which mainly involves plumbing and a few fasteners. You won’t need a highly specialized set of equipment, just the basics.
Here’s a simple checklist of what to grab:
- Channel-lock pliers or a pipe wrench: For loosening and tightening pipe fittings.
- A flathead and a Phillips head screwdriver: For hose clamps and other fasteners.
- A utility knife or PVC pipe cutter: To cut the discharge pipe if needed.
- A bucket and some old towels or rags: For catching leftover water from the old pump and pipes.
New Pump Components and Parts
Choosing the right replacement pump is the most critical part of this step. You’ll want a pump that can handle the amount of water your basement typically gets. Look at your old pump for its horsepower (HP) rating—usually 1/3 HP or 1/2 HP for most homes—and try to match it. Also, grab a new check valve. This small part is a one-way gate that prevents water from flowing back into the pit after it's been pumped out. It's always a good idea to replace the check valve along with the pump to ensure the whole system is fresh.
Essential Safety Gear
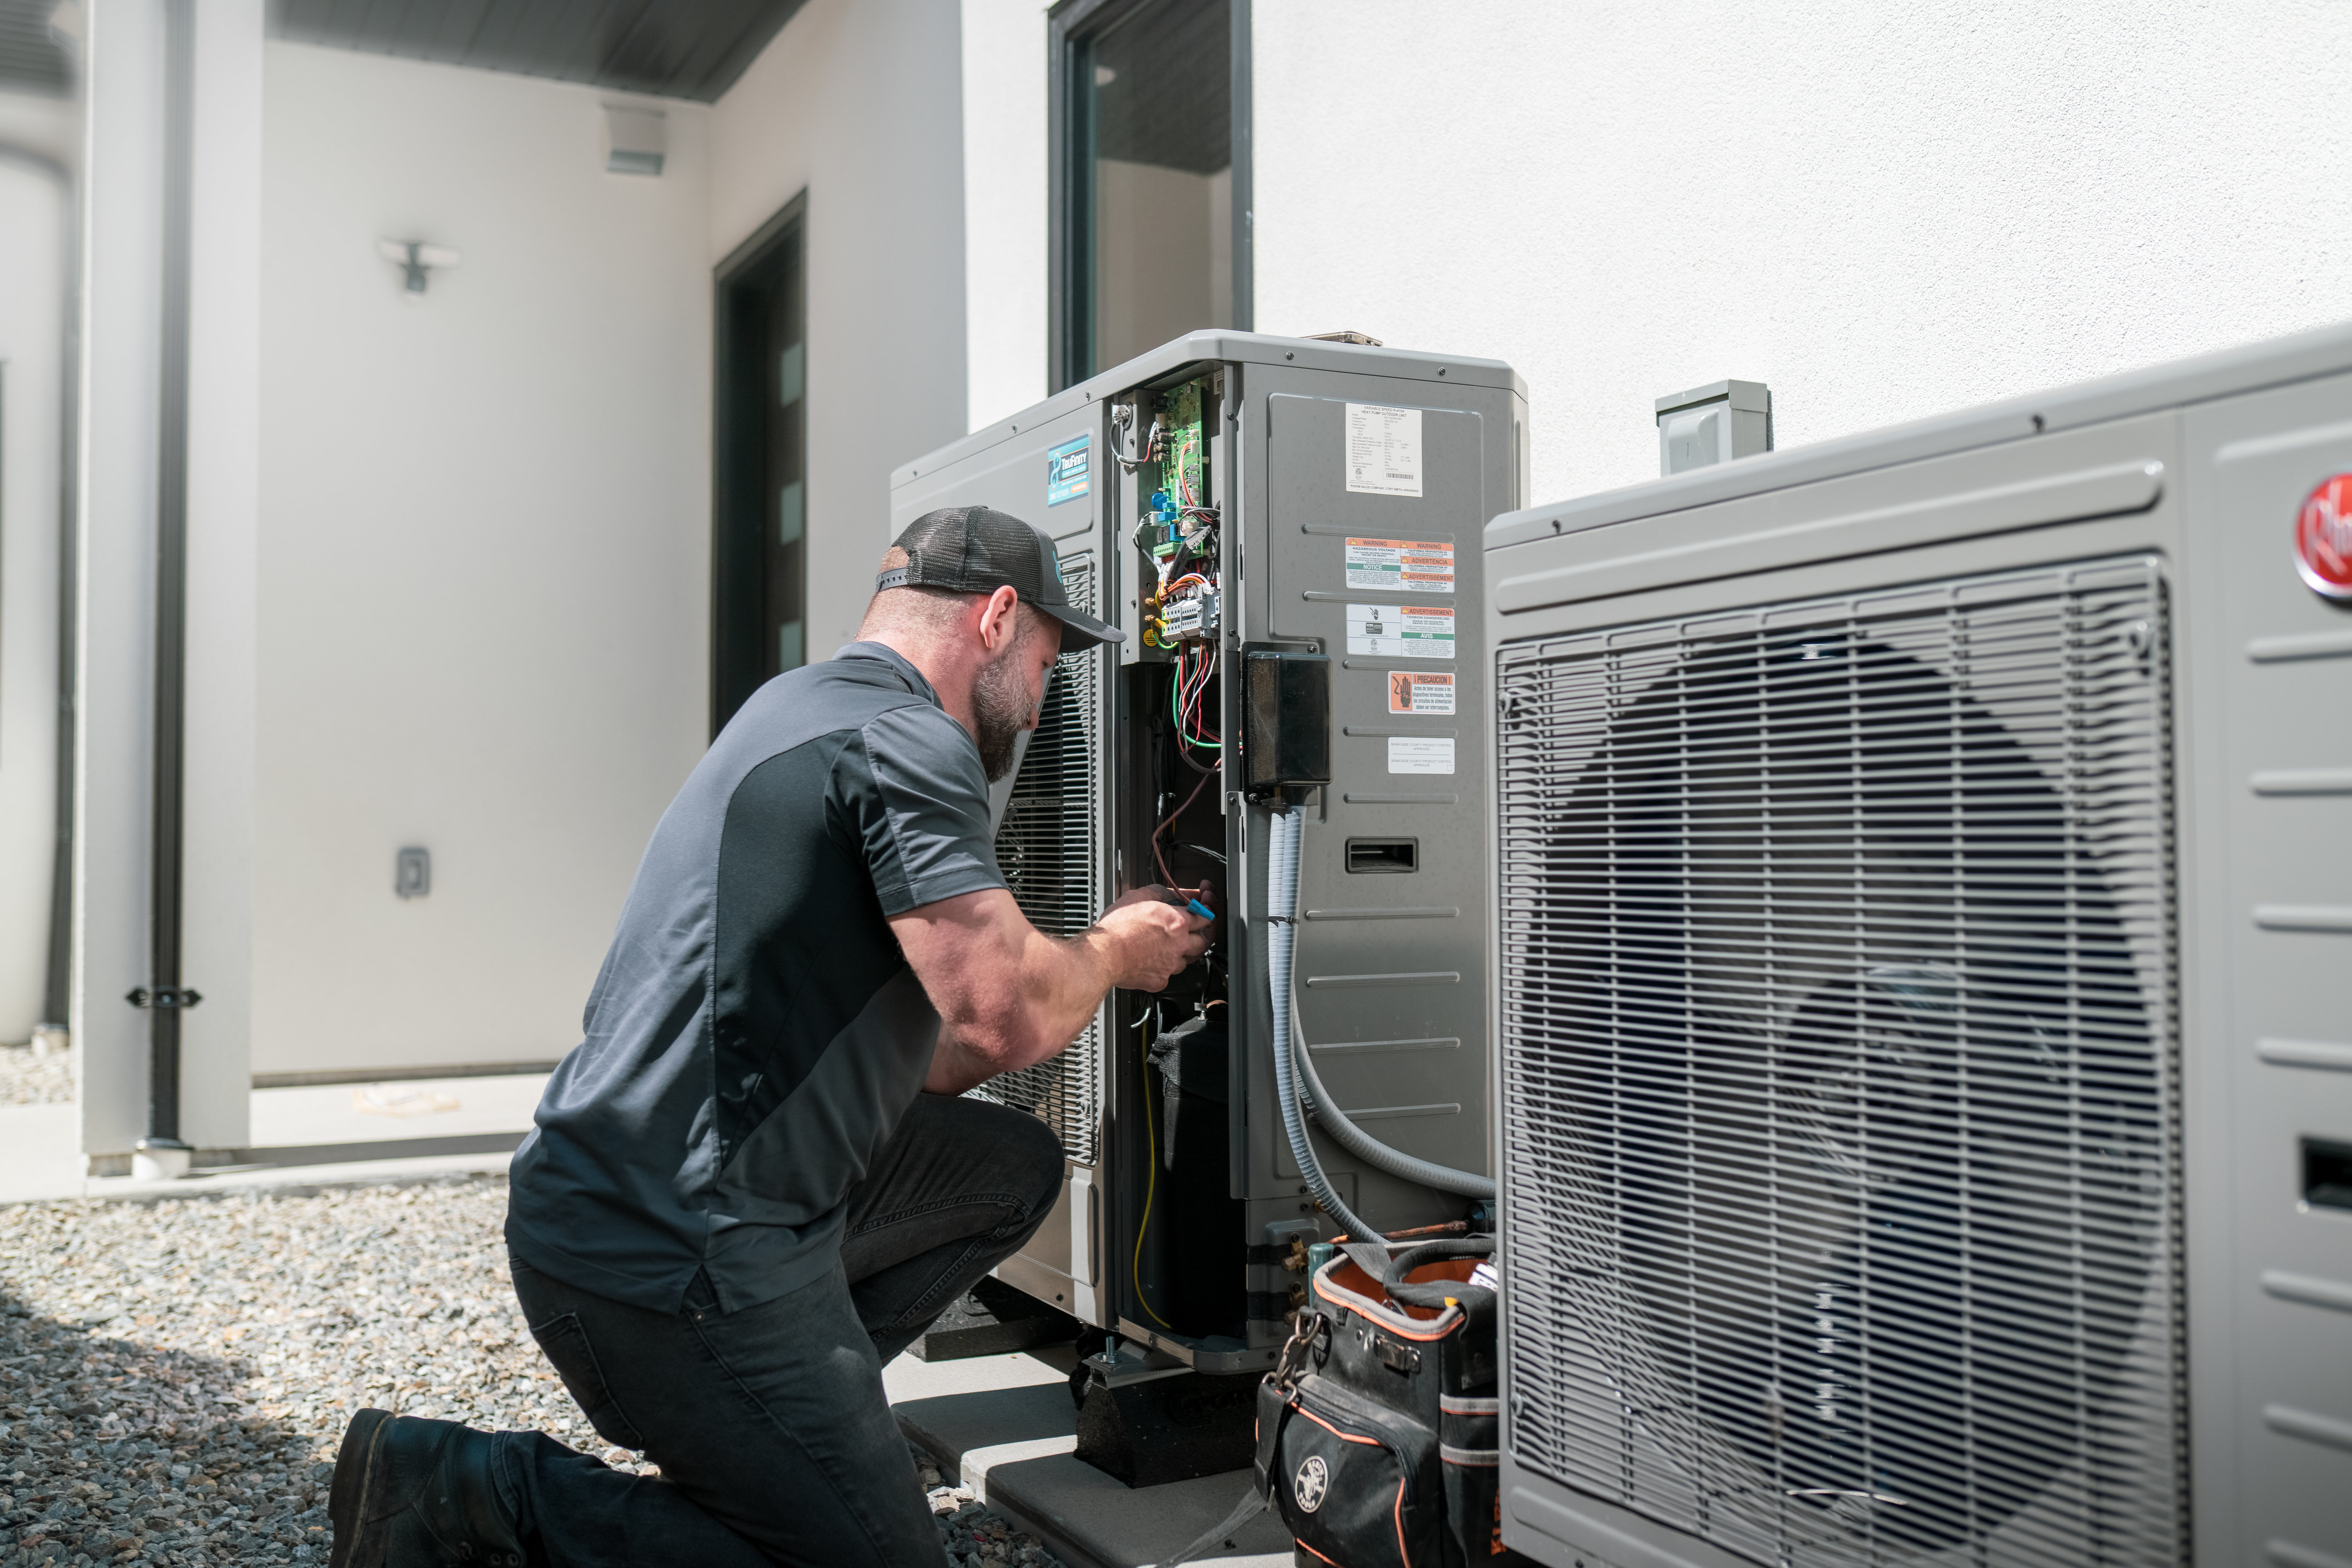
Safety first, always. You're working in a damp environment with an electrical appliance, so a few simple precautions are essential. Before you even think about touching the old pump, make sure it’s unplugged from the wall outlet. If it’s hardwired, you’ll need to shut off the corresponding breaker at your electrical panel. Don’t skip this step. To protect yourself, have some basic safety gear on hand: waterproof gloves to keep your hands clean and dry, and safety glasses to protect your eyes from any unexpected splashes. It’s a simple but important way to prevent accidents.
How to Replace Your Sump Pump, Step-by-Step
Replacing a sump pump is a project many homeowners can handle with the right tools and a bit of patience. The key is to work methodically and prioritize safety. Before you start, make sure you've read the manual for your new pump, as there might be specific instructions for your model. This guide will walk you through the five main steps to get your old pump out and your new one running smoothly.
Remember, the goal is to protect your basement from flooding. If you get started and feel overwhelmed or run into an unexpected issue like a cracked pipe or a stubborn connection, don't hesitate to pause. A quick call to a professional can save you from a much bigger headache down the road. Your peace of mind is worth it. Let’s walk through the process together.
Step 1: Remove the Old Pump
First things first: safety. Unplug the old sump pump from the wall outlet. You should never work on any pump that’s still connected to power. Next, you’ll need to disconnect the pump from the discharge pipe. You’ll likely find a check valve—a one-way valve that stops water from flowing back into the pit—connecting the pump to the pipe. Loosen the clamps on either side of this valve so you can remove it. Once the pipe is free, you can lift the old pump straight out of the sump pit. Be prepared for it to be wet and a little grimy.
Step 2: Prepare the Sump Pit
With the old pump out of the way, you have a perfect opportunity to clean the sump pit. Over time, dirt, gravel, and other debris can collect at the bottom. This gunk can clog your new pump or jam its float switch, causing it to fail when you need it most. Use a shop vac to suck out any remaining water and debris. A clean pit gives your new pump the best possible environment to do its job effectively. If you notice the pit is draining slowly or seems clogged, it might point to a larger issue with your home's drainage system.
Step 3: Install the New Pump
Now for the new hardware. Place your new sump pump in the center of the clean pit, making sure it’s sitting level on the bottom. Most new pumps come with a threaded outlet where the discharge pipe will connect. Before you attach anything, wrap the threads of the male adapter with Teflon tape (plumber's tape). This helps create a secure, leak-proof seal. Screw the adapter into the pump’s discharge opening, tightening it by hand first and then giving it a final turn with a wrench. Don’t overtighten it, as this can crack the plastic housing.
Step 4: Connect the Discharge Line and Check Valve
It’s time to connect your new pump to the rest of the system. Measure and cut a piece of PVC pipe to connect the pump to your home's main discharge line. Then, install the check valve onto the new pipe, ensuring the arrow on the valve is pointing up, in the direction of water flow. This is a critical step that prevents water from flowing back into the pit after the pump shuts off. Many pros also drill a tiny 3/16-inch "weep hole" in the discharge pipe (between the pump and the check valve) to prevent airlock, which can stop the pump from working. If you run into trouble with fittings, our team is always ready to help with any plumbing repairs.
Step 5: Test Your New Pump
You’re almost done! With everything connected, it’s time for the moment of truth. Plug the new sump pump into its dedicated GFCI outlet. To test it, slowly pour a few buckets of water into the sump pit until the float switch rises and activates the pump. Watch as the pump kicks on and drains the water from the pit. As it works, check all your new connections for any drips or leaks. If everything is dry and the pump shuts off correctly once the water level drops, you’ve done it. Secure the pit lid, and you can rest easy knowing your basement is protected.
Common Installation Mistakes to Avoid
Replacing a sump pump can feel like a straightforward job, but a few common missteps can lead to pump failure and the very basement flood you’re trying to prevent. Getting the details right is crucial for protecting your home. By avoiding these frequent errors, you can ensure your new pump works reliably when you need it most.
Avoid Poor Placement and Positioning
Where you place the pump in the sump pit matters more than you might think. The goal is to set it on a solid, level surface, ensuring it’s not sitting directly on silt or gravel that could get sucked in and clog the system. More importantly, "make sure the pump is placed so its float assembly... is in the center of the pit." If the float switch is too close to the wall, it can get stuck. This could cause the pump to run continuously and burn out the motor, or worse, prevent it from turning on at all during a storm.
Get the Discharge Pipe and Check Valve Right
The discharge pipe carries water away from your home, and the check valve is its essential partner. A check valve is a one-way flap that "stops it from flowing back down into the pit when the pump turns off." This simple device prevents the same water from being pumped out multiple times, reducing wear on your pump. When installing, it’s often easiest to replace the bottom section of the discharge line with new PVC pipe. This makes connecting the new pump and check valve much simpler and ensures a secure, leak-free fit for all your plumbing components.
Double-Check Your Electrical Connections
Working with water and electricity requires your full attention. The most important rule is to "always unplug the old sump pump before you start any work to avoid electric shock." Before plugging in the new pump, inspect the cord for any damage. Ensure the outlet is a Ground Fault Circuit Interrupter (GFCI) outlet, which is designed to shut off power instantly if it detects a problem, protecting you in the damp environment of a sump pit. Never use an extension cord for a permanent installation; the pump should have its own dedicated outlet.
Prevent Airlock Before It Happens
An airlock is when air gets trapped in the pump, preventing it from building pressure and moving water out of the pit. It’s a sneaky problem that can render a brand-new pump useless. To prevent this, you need to "drill a small hole, called a weep hole, in the discharge pipe." This 1/8-inch hole should be located between the pump and the check valve, below your basement floor level. This allows trapped air to escape, ensuring your pump can prime itself and effectively manage your home's drainage system when water levels rise.
How to Choose the Right Replacement Sump Pump
Walking into a hardware store to a wall of sump pumps can be overwhelming. Choosing the correct model is just as critical as the installation itself, providing peace of mind and preventing the very flooding you’re trying to avoid. A smart choice comes down to three main factors: the pump type, its size and capacity, and the reliability backed by a solid warranty. Getting these details right ensures your new pump is a perfect match for your home's needs. If you’re ever unsure, our team of Red Seal Plumbers can help you assess your situation and recommend the best equipment for the job.
Understand Pump Types and Power Options
You’ll need to decide between two main types: submersible and pedestal. Submersible pumps sit inside the sump pit and are generally quieter and more powerful, making them the standard for most homes. When comparing models like the popular Zoeller M53 and M63, the M63 is often recommended for its higher quality parts and superior warranty. It's a more durable long-term choice. Also, consider a battery backup system—it’s a lifesaver during Okanagan storms that can knock out your power.
Consider the Right Size and Capacity
Bigger isn't always better. It’s important to choose a new pump that matches the size and capacity of your old one. Check the label on your current pump for its horsepower (HP) and flow rate, measured in gallons per hour (GPH). A pump that’s too weak won’t keep up with heavy water flow, while one that’s too powerful will "short-cycle" and burn out the motor. Matching the capacity ensures your pump runs efficiently when you need it most.
Check the Warranty and Parts Availability
A manufacturer’s warranty indicates their confidence in the product. A pump with a one-year warranty might be cheaper, but a model with a three- or five-year warranty, like the Zoeller M63, suggests it’s built with better components designed to last. This can save you money and stress down the road. Before you buy, also check the availability of replacement parts. Choosing a well-known brand with accessible parts makes future sump pump repairs much simpler and more affordable.
Finding a Good Sump Pump Replacement Video on YouTube
When you’re facing a home repair project, YouTube can feel like a lifesaver. With countless tutorials at your fingertips, it’s a fantastic resource for visual learners who want to see a task done before they try it themselves. Replacing a sump pump is a popular DIY project, but the quality of online guides varies wildly. A great video can walk you through the process smoothly, giving you the confidence to handle the job correctly. A bad one, however, can leave you with a flooded basement and a much bigger problem than you started with.
The key is knowing how to sort the helpful from the hazardous. You need a guide that is not only clear and easy to follow but also credible and safe. A well-produced video from a knowledgeable source will cover the essential steps, explain the reasoning behind them, and point out potential pitfalls. It’s worth spending a few extra minutes vetting the video before you even think about disconnecting your old pump. Before you grab your tools, let’s talk about how to find a tutorial you can trust to get the job done right the first time.
How to Judge a Video's Quality and Credibility
First, pay attention to the production quality. If the video is dark, shaky, or has muffled audio, it’s going to be hard to follow. You need to clearly see the sump pit, the pump, and all the connections. Beyond the visuals, listen to the presenter. Do they sound like they know what they’re talking about? A credible guide will explain why each step is important—like why the check valve must be installed in a specific direction. They should also mention the tools needed upfront and emphasize safety precautions, especially when dealing with electricity and water. Look for videos from licensed plumbers or established home improvement channels that have a reputation to protect.
What to Search For (and Which Channels to Trust)
To narrow down your search, get specific with your keywords. Instead of just typing “sump pump replacement,” try including your pump’s brand and model number (e.g., “Zoeller M53 installation guide”). This increases the chance you’ll find a tutorial that matches your exact situation. Channels run by plumbing supply manufacturers or major home improvement brands are often reliable sources because they create content to support their products. While watching, check the video’s upload date. A video from ten years ago might show outdated techniques or pump models, so newer is usually better. A good step-by-step guide in writing can also be a valuable resource to compare against a video.
Red Flags to Watch Out For
Some videos should be skipped entirely. A major red flag is a tutorial that glosses over safety. Anyone who doesn’t mention disconnecting the power supply before starting work is not a source you should trust. Be wary of videos that use a lot of fast-forwarding, especially during critical steps like making connections or seating the pump. If the creator says something like, “you just kind of fit this piece here” without a clear explanation, click away. Finally, always scroll down to the comments. If you see a long list of viewers complaining that the instructions were confusing or led to problems, take their word for it and find another video.
DIY vs. Calling a Pro: Which Is Right for You?
After watching a few videos, you might feel ready to tackle your sump pump replacement. For some homeowners, this can be a rewarding project. But it's also a job where small mistakes can lead to big, watery problems. The choice between doing it yourself and calling a professional comes down to your experience, the complexity of the job, and how much you value your time and peace of mind.
While a straightforward swap of an old pump for an identical new one might seem simple, any deviation can introduce complications. You'll be working with both plumbing and electricity in a wet environment—a combination that requires caution and confidence. Before you start disconnecting pipes, it’s worth taking a moment to weigh the pros and cons. Think about what happens if you run into an unexpected issue, like a crumbling discharge pipe or a pump that just won't fit. A quick project can easily turn into a weekend-long headache, leaving your basement unprotected in the meantime.
When to Tackle It Yourself
The biggest motivation for a DIY sump pump replacement is usually saving money on labor costs. If you have solid plumbing and electrical skills, own the necessary tools, and are replacing a simple pedestal or submersible pump with the exact same model, you might be a good candidate. However, it's important to be realistic. A DIY sump pump installation can be a difficult and time-consuming task. What looks like a one-hour job on YouTube can quickly become a multi-hour struggle. If you make a mistake, you could end up with leaks, a pump that fails when you need it most, or damage that leads to even more expensive repairs down the road.
The Benefits of Hiring a Professional
Hiring a professional plumber turns a potentially stressful project into a straightforward fix. An experienced technician can typically replace a sump pump in just two to four hours, ensuring every connection is secure and the system is tested for performance. They have the right tools and expertise to handle any unexpected problems, like adjusting pipes or troubleshooting a faulty float switch. More importantly, a professional installation gives you confidence that the job was done right. Our team of Red Seal Plumbers not only installs your pump correctly but can also spot potential issues with your drainage system, helping your new pump last longer and protecting your home from flooding.
Considering the Cost and Time
Cost is a major factor in any home repair. While a new sump pump installation can average around $1,400, the final price depends on the type of pump and the complexity of your setup. It’s always wise to get a clear, itemized quote before work begins. A trustworthy company will provide upfront pricing so you understand the costs of both the unit and the labor. Remember to factor in your own time, too. A first-time installation can take a professional up to eight hours, which means it could take a DIYer a full weekend or longer. Investing in a professional installation is an investment in your home's safety, and many companies offer financing options to make it more manageable.
Keep Your New Sump Pump Running: Maintenance Tips
Once your new sump pump is installed, a little routine care goes a long way in preventing a basement flood. Just like any other important appliance in your home, it needs regular attention to ensure it’s ready to work when the next big storm hits. Setting aside a few minutes every season for simple maintenance can extend the life of your pump and give you valuable peace of mind. These straightforward checks will help you catch small issues before they turn into costly emergencies.
Create a Regular Testing Schedule
The easiest way to know if your sump pump is working is to test it. I recommend doing this every three to four months, and definitely before the start of the rainy season in the Okanagan. Simply pour a large bucket of water into the sump pit until the water level raises the float switch. The pump should kick on immediately, drain the water, and shut off smoothly. While it’s running, listen for any unusual grinding or rattling sounds. This simple test takes less than five minutes and is the best way to confirm your first line of defense against basement flooding is ready for action.
Complete These Seasonal Maintenance Tasks
Beyond a quick test, your sump pump benefits from an annual cleaning. Start by unplugging the pump from its power source. You can then remove it from the pit to clean any mud, gravel, or debris from the intake screen. It’s also a good idea to clear out any sediment that has settled at the bottom of the pit itself. While you’re there, inspect the check valve on the discharge pipe to make sure it’s functioning correctly. If you’d rather leave it to an expert, our TruLoyalty Membership includes annual inspections to keep your system in top shape without you having to lift a finger.
Troubleshoot Common Problems
Knowing the warning signs of a failing sump pump can help you act before water starts seeping into your basement. If your pump is running constantly, even when it’s not raining, it could signal a problem with the float switch or check valve. Loud noises, excessive vibration, or visible rust are also clear indicators that something is wrong. Sometimes the issue is a simple fix, like a switch that’s stuck. Other times, it’s a sign of motor failure. If you notice any of these issues and aren’t sure how to fix them, it’s always best to call for professional plumbing repairs to get an accurate diagnosis.
Related Articles
Frequently Asked Questions
How often should I really be replacing my sump pump? A good rule of thumb is to plan on replacing your sump pump every 10 years. While some high-quality pumps might last a bit longer, their components wear down over time. Waiting for it to fail completely is a risky gamble, as it will likely happen during a heavy storm when you need it most. Think of it as a proactive step to protect your home rather than a reaction to a disaster.
Is it possible to just repair my sump pump instead of replacing it? Sometimes, a repair is all you need. If the issue is a simple component like a stuck float switch, a professional can often fix it without replacing the entire unit. However, if the pump is old, the motor is making grinding noises, or you see visible rust, a full replacement is the smarter long-term investment. A repair on an aging pump is often just a temporary fix before a bigger failure.
What's the most common mistake people make when installing a sump pump themselves? One of the most frequent and critical errors is installing the check valve backward. This small part has an arrow on it indicating the direction of water flow, and it must point away from the pump. If it's installed incorrectly, water will flow right back into the pit after being pumped out, forcing the pump to work constantly until it burns out. It's a small detail that makes a huge difference.
Do I actually need a battery backup for my sump pump? A battery backup system is one of the best investments you can make for your home's flood protection. The biggest storms are often the ones that knock out the power, which is precisely when your sump pump needs to be working its hardest. A battery backup ensures your pump keeps running even during an outage, giving you complete peace of mind that your basement will stay dry no matter what the weather is doing.
How much should I budget for a professional sump pump replacement? The cost can vary depending on the type of pump you choose and the complexity of your home's plumbing setup. While the average professional installation is often around $1,400, the best approach is to get an upfront, itemized quote. A trustworthy plumber will break down the costs for the new pump and the labor involved, so there are no surprises. This transparency helps you make an informed decision that fits your budget.


.webp)