As your local Okanagan plumbing experts, we know that hard water can take a toll on your fixtures. That’s why a dripping faucet is such a common issue for homeowners in our community. While we’re always here to help, we also believe in empowering you with the knowledge to handle simple fixes. This guide provides our professional advice on how to repair a leaky faucet in bathtub by replacing the internal cartridge. We’ll give you the trusted, step-by-step process our own technicians use, helping you achieve a lasting repair with confidence.
Key Takeaways
- Identify the Culprit for a Confident DIY: Most single-handle bathtub faucet drips are caused by a worn-out internal cartridge, which is a straightforward part to replace yourself with a few basic tools and proper preparation.
- Recognize the Limits of a DIY Repair: Don't force stuck parts or ignore a leak that continues after you've installed the new cartridge. These issues, along with signs of hidden water damage, are clear signals to call a professional and avoid a more costly problem.
- Protect Your Plumbing Beyond the Faucet: A recurring leak can be a symptom of larger issues like hard water or high water pressure. Performing simple inspections and addressing your home's water quality can protect all your fixtures, not just the one you fixed.
Why Your Bathtub Faucet Is Leaking
That constant drip, drip, drip from the bathtub faucet isn’t just an annoying soundtrack to your day—it’s a clear sign that something inside has worn out. While it might seem like a minor issue, ignoring it can lead to surprising spikes in your water bill and even cause water damage over time. The good news is that most leaks come from a few common, fixable problems. Before you can get started on the repair, you need to understand what’s causing the drip in the first place.
Most leaks are caused by a small, inexpensive part that has simply reached the end of its life. By figuring out the source, you can decide if it’s a simple DIY fix or a job that requires professional plumbing repairs. Let's walk through the most likely culprits so you can get your bathroom back to being a peaceful retreat.
What Causes a Faucet to Leak?
Most bathtub faucet leaks trace back to a handful of common problems. The most frequent issue is a worn-out internal part, like a rubber washer or an O-ring, that has degraded over time and no longer creates a tight seal. Another possibility is a faulty faucet stem or, more commonly in modern faucets, a failing cartridge. This is the mechanism inside the handle that controls water flow and temperature. Over time, mineral buildup from hard water can cause these components to corrode or crack. In some cases, the faucet handles themselves can become stripped or loose, preventing the valve from closing completely.
Identify Your Faucet Type
Before you can buy replacement parts, you need to know what kind of faucet you have. While there are a few different types, most modern bathtub and shower faucets use a single-handle cartridge system. Take a close look at your faucet handle and try to find a brand name, like Moen, Delta, or Kohler. Knowing the manufacturer is a huge help when you head to the hardware store. If you can’t find a brand name, taking a clear photo of the faucet and its handle will help you or the store associate identify the correct replacement parts needed for the job.
Is a Bad Cartridge the Problem?
If your faucet has a single handle that controls both hot and cold water, it almost certainly uses a cartridge. This small valve is the heart of your faucet, and it’s the most common source of leaks in this type of fixture. When the seals inside the cartridge wear out, water can seep through even when the faucet is turned off. If you’ve noticed the handle is harder to turn, feels loose, or doesn’t seem to shut off the water completely, a bad cartridge is the likely suspect. Since the cartridge is the main component that causes the leak, replacing it is often the most direct path to fixing that frustrating drip for good.
Get Your Tools and Prep Your Space
A little preparation goes a long way in making any home repair feel less like a chore and more like a win. Before you dive in, let’s get your tools and workspace ready. Taking a few minutes to set up properly ensures the job goes smoothly, protects your bathroom from accidental damage, and keeps small parts from disappearing. Think of it as setting up your ingredients before you start cooking—it just makes everything easier.
Your DIY Toolkit
Having the right tools on hand is the first step to a successful repair. You don’t need a professional-grade toolbox, just a few key items. For most bathtub faucet cartridge replacements, you’ll want to gather a set of Allen wrenches, a Phillips head screwdriver, and a pair of pliers. You will also need your new replacement cartridge and some silicone grease to help it slide in smoothly. Some faucet models require a special cartridge puller tool, so it’s a good idea to check your faucet’s brand and model ahead of time. Lay everything out on a towel beside the tub so it’s all within easy reach.
Safety First: What You'll Need
The most important step in any plumbing repair is turning off the water. Seriously, don’t skip this. Forgetting to shut off the water supply before you start taking the faucet apart is the fastest way to turn a small drip into a major flood. To manage any water that’s left in the pipes, place a small bucket or a few old towels directly under the faucet. It’s also a great idea to close the tub drain. This simple move will save you the headache of trying to fish a tiny screw out of the drainpipe later on.
Prepare Your Bathroom
A clean and organized workspace will help you stay focused. Start by clearing any shampoo bottles, soap, and other items from the edges of the tub to give yourself plenty of room to work. Lay a thick towel or a rubber mat inside the tub to protect the surface from scratches if you accidentally drop a tool. This also gives you a more comfortable place to kneel or sit. Finally, grab a small bowl or magnetic tray to hold all the screws, caps, and other small components as you remove them. This keeps everything in one place and makes reassembly a breeze.
How to Turn Off the Water
Before you can start the repair, you need to locate your home’s main water shut-off valve. It’s typically found in the basement, a crawlspace, or a utility closet on the ground floor. In some homes, it might be outside near the water meter. Once you find it, turn the handle or knob clockwise until it stops—remember, "righty-tighty." To make sure the water is completely off, open the faucet in your tub and another one on the lowest level of your home to drain any remaining water from the pipes. If you can't find the valve or it won't budge, it's best to call for professional plumbing repairs.
How to Replace Your Faucet Cartridge
With your tools ready and the water shut off, you’re ready to get started. Replacing a faucet cartridge is one of the most common plumbing fixes, and it’s a great skill to have. The key is to work slowly and keep your parts organized as you take them off—I like to lay them out on a towel in the order I remove them. This makes reassembly much easier. If at any point you feel unsure or a part just won’t budge, don’t force it. Sometimes corrosion can make a simple job tricky, and that’s a perfect time to call for professional plumbing repairs. But for most leaky faucets, these five steps will get the job done and restore peace and quiet to your bathroom.
Step 1: Remove the Faucet Handle
First, you need to get the handle off to access the parts underneath. Look for a small cap on the handle, which you can often pry off with a flathead screwdriver to reveal a screw. On more modern faucets, you might find a tiny set screw on the side or underside of the handle. Use an Allen wrench or a Phillips head screwdriver to loosen this screw—you don’t need to remove it completely. Once it’s loose, the handle should wiggle free. Pull it straight off the faucet body and set it aside with its screw.
Step 2: Take Out the Old Cartridge
With the handle gone, you’ll see the inner workings. You may need to remove a decorative metal barrel or cover first, which should slide right off. Next, you’ll see a retaining clip or nut holding the cartridge in place. Carefully pull the clip out with needle-nose pliers or a screwdriver. Now, you can grip the old cartridge (pliers can help here, too) and pull it straight out of the faucet body. It might be a little snug from mineral buildup, so a firm, steady pull is best.
Step 3: Install the New Cartridge
Before you pop the new cartridge in, it’s a good idea to wipe out the inside of the faucet body with a clean rag to remove any debris. Apply a thin layer of silicone grease to the O-rings on the new cartridge, which helps it slide in smoothly and creates a better seal. Make sure the new cartridge is compatible with your faucet brand and model. Carefully slide the new cartridge into the faucet body, making sure it’s oriented the same way as the old one so your hot and cold water functions correctly.
Step 4: Put Everything Back Together
Now you just need to reassemble everything in reverse order. Start by reinserting the retaining clip to lock the new cartridge in place. Slide the metal barrel or cover back on. If your faucet has a temperature-limiting device (also called a scald guard), put that back on next. Finally, place the handle back onto the stem, making sure it’s aligned correctly, and tighten the set screw to secure it. Pop the decorative cap back on if your handle has one. Give the handle a gentle wiggle to make sure it’s secure.
Step 5: Test for Leaks
This is the moment of truth. Go back to your home’s main water shut-off valve and turn it on slowly. Head back to the bathroom and check your work. Turn the faucet handle on and let the water run for a minute to clear out any air or sediment from the lines. Turn it off and watch closely for any drips from the spout or around the base of the handle. If everything is dry, you’ve successfully fixed the leak. Congratulations on a job well done
Troubleshooting Common Issues
Okay, so you’ve followed the steps, but the drip is still there, or you’ve hit a snag along the way. Don't get discouraged—it happens to everyone. DIY repairs can sometimes reveal a deeper issue or present an unexpected challenge. The key is knowing how to identify the problem without making it worse. From a stubborn part that won’t budge to a leak that just won’t quit, most issues have a straightforward solution.
Before you get too frustrated, let’s walk through some of the most common roadblocks you might encounter when replacing a faucet cartridge. We’ll cover how to make sure you have the right parts, what to do when things get stuck, and how to spot signs that the problem might be bigger than just the cartridge. If you work through these steps and still feel stuck, remember that our team is always ready to step in and handle any plumbing repairs you need.
Find the Right Replacement Cartridge
One of the most common reasons a new cartridge fails to stop a leak is that it’s not an exact match. Faucet cartridges are not universal; they are specific to the brand and model of your faucet. The best way to ensure you get the right one is to take the old cartridge with you to the hardware store. If you can’t find an identical replacement, it might be an older, discontinued model. In this case, or if you notice the valve body where the cartridge sits is corroded or cracked, replacing the entire faucet is often the most reliable long-term solution.
What to Do When Parts Are Stuck
Years of mineral buildup can cause a cartridge to become fused inside the faucet body, making it incredibly difficult to remove. Your first instinct might be to use more force, but this can damage the pipes inside the wall, leading to a much more serious and expensive repair. Instead, try using a specialized tool called a cartridge puller. This tool is designed to grip the cartridge securely and pull it out straight without putting stress on the surrounding plumbing. It’s a small investment that can save you from a major headache.
Fixing Water Pressure Problems
Sometimes, a persistent drip isn't about the faucet at all—it's a symptom of a water pressure issue in your home. If your water pressure is too high, it puts constant strain on your plumbing fixtures, causing washers, seals, and cartridges to fail prematurely. On the other hand, low water pressure could indicate a clog or a problem with your main water line. If you’ve noticed other issues like banging pipes or inconsistent flow throughout your house, it’s a good idea to have a professional check your home’s water pressure. It’s a crucial part of your home’s overall plumbing health.
Still Leaking? Here's What to Check
If you’ve installed the correct new cartridge and the faucet is still dripping, it’s time to look a little closer. First, make sure the new cartridge is seated properly and that any O-rings or rubber seals are not twisted or torn. The next thing to inspect is the valve seat—the small brass opening that the cartridge seals against. Over time, the valve seat can become corroded or pitted. A new cartridge can’t create a perfect seal against a damaged surface. Replacing a valve seat can be tricky, and if it’s not done correctly, the leak will continue.
Know When to Call a Pro
There’s a great sense of accomplishment that comes with fixing something yourself. But there’s also wisdom in knowing when to put down the wrench and pick up the phone. A simple DIY project can quickly become complex, and pushing forward can sometimes lead to bigger, more expensive problems. If you’ve hit a roadblock or your gut is telling you something isn’t right, it’s perfectly okay to call for backup. A professional plumber can not only solve the immediate issue but also diagnose underlying problems you might not see, saving you from future headaches and potential water damage. At TruFinity, we believe in empowering homeowners, and that includes helping you recognize when a job is best left to an expert. Our goal is to provide "True Service, Infinite Care," whether that means giving you the information to do it yourself or stepping in when you need a hand.
When the Job Gets Too Complicated
You followed the steps, but the leak persists, or you’ve run into a new problem. This is a common point where a DIY repair can turn into a bigger challenge. For instance, if the faucet handle or cartridge is completely seized due to corrosion and won’t budge without extreme force, you risk breaking the fixture or the pipe inside the wall. A seemingly simple faucet repair can also reveal deeper issues, like a cracked valve body or stripped threads that a new cartridge can’t fix. If the job feels like you’re fighting it every step of the way, it’s a clear sign to pause and consult a professional.
Spotting Deeper Problems
Sometimes, a dripping faucet is just the tip of the iceberg. Pay attention to clues that suggest a more significant issue. Do you see any discoloration or soft spots on the wall behind the tub? Is there a musty smell that hints at hidden mildew? These are classic signs of a leak behind the wall that needs immediate attention. Another red flag is a sudden change in water pressure. If you’ve tried everything and the leak is still there, our team can use advanced tools like electronic leak detection and HD waterproof cameras to pinpoint the source without unnecessary damage to your home.
What Counts as a Plumbing Emergency?
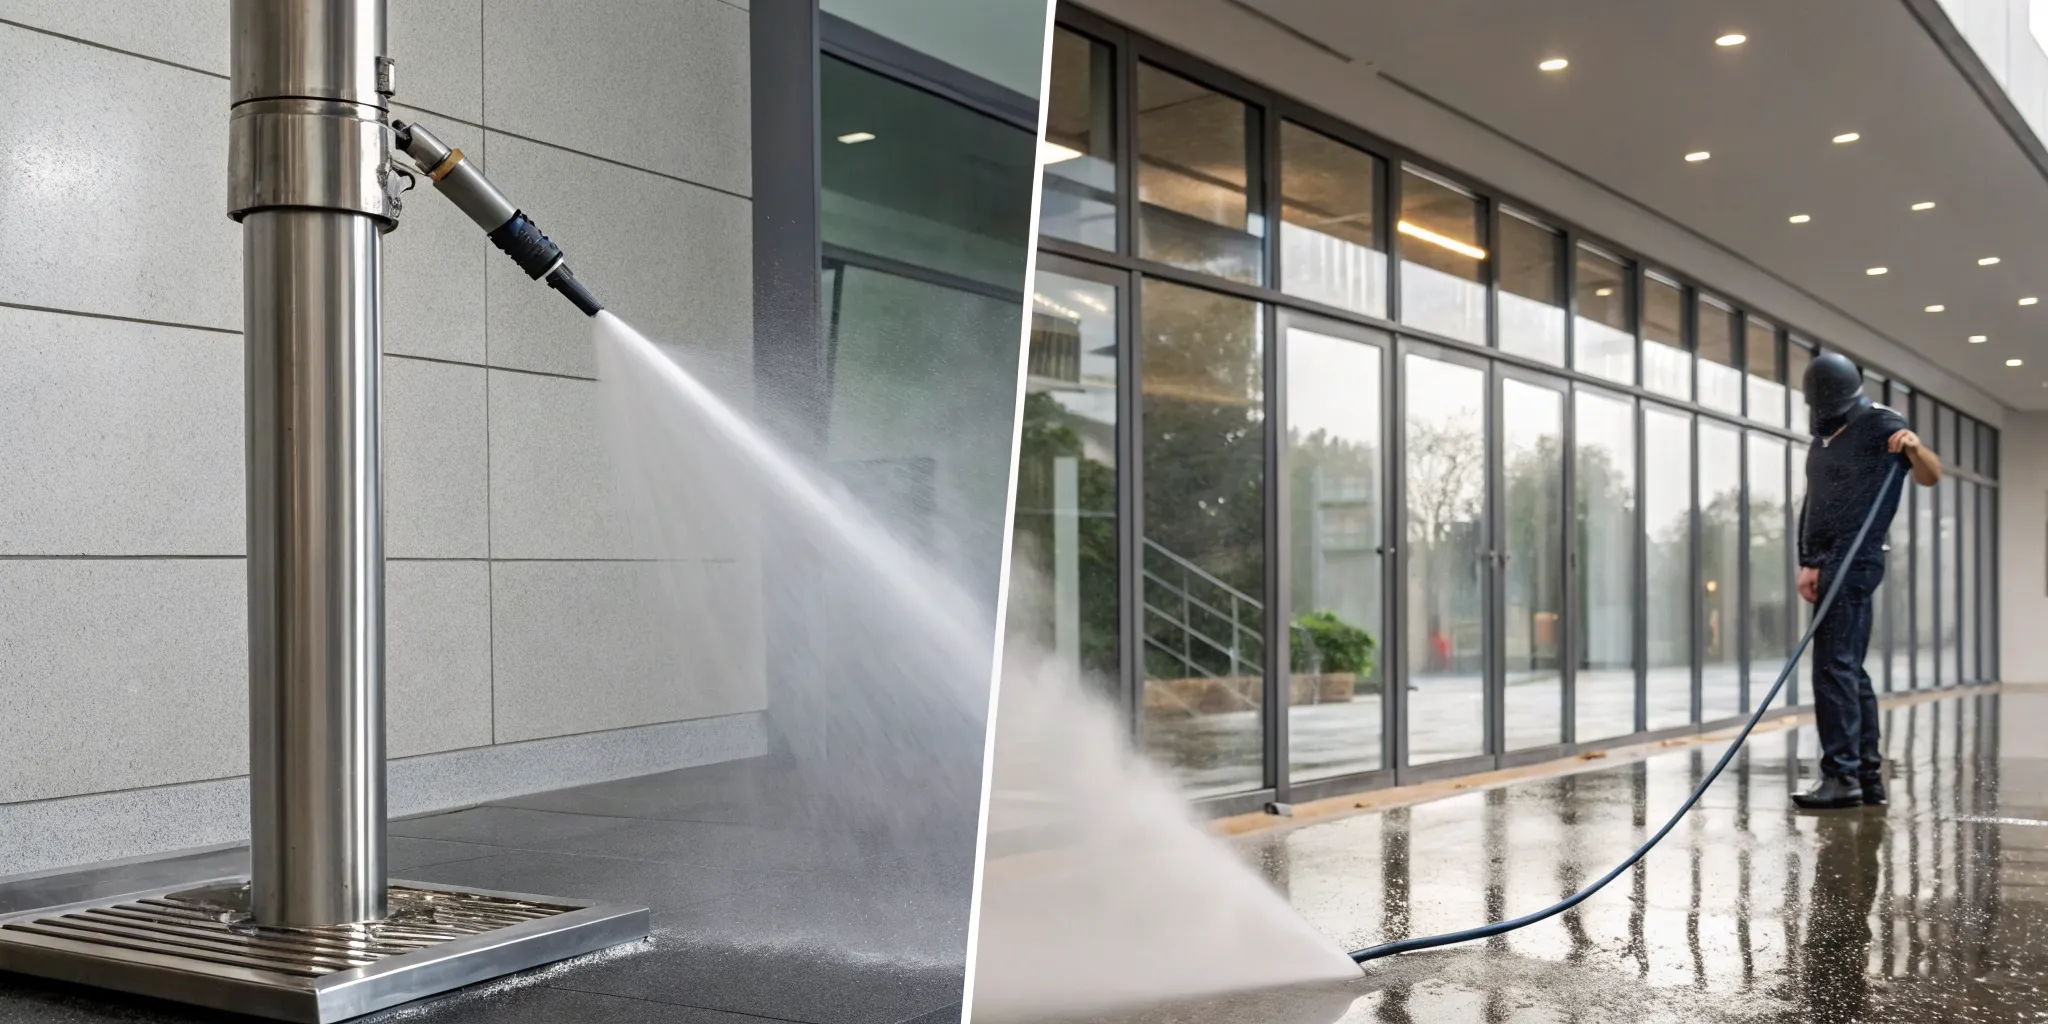
A steady drip is annoying, but when does it become an emergency? If you can't shut off the water to the faucet, or if the leak is significant enough to cause active water damage to your floor or ceiling, it's time to call for help immediately. A leak that affects your entire home’s water supply is also an emergency. Don’t hesitate—your priority is to prevent property damage. TruFinity offers 24/7 emergency service across the Okanagan to give you peace of mind. We’ll get a certified plumber to your door quickly to contain the problem and find a lasting solution.
Keep Your Faucets Working Smoothly
Once you’ve fixed your leak, a little preventative maintenance can go a long way in keeping your plumbing in top shape. Taking a few minutes every few months to check on your fixtures can help you catch small issues before they turn into major headaches. Think of it as a quick health check-up for your bathroom. This proactive approach not only saves you from the hassle of unexpected repairs but also helps protect your home from potential water damage. It’s about maintaining the comfort and safety you value, ensuring everything runs just as it should.
Your Quick Inspection Checklist
Staying ahead of faucet problems is easier than you think. Set a reminder to run through this simple checklist every few months. First, check for any visible drips or moisture around the faucet base and handles. Next, operate the handle to feel for any stiffness, grinding, or looseness—it should move smoothly. Listen for any unusual noises like whistling or chattering when the water is running. A quick visual scan for mineral buildup or corrosion can also alert you to water quality issues. Catching these early signs allows you to address them before a small annoyance becomes a costly plumbing repair.
How Water Quality Affects Your Plumbing
The water flowing through your pipes has a major impact on your plumbing fixtures. In the Okanagan, many homes deal with hard water, which is high in minerals like calcium and magnesium. Over time, these minerals build up inside your faucet, causing corrosion and damaging essential parts like O-rings and cartridges. This buildup is often the hidden culprit behind persistent leaks and reduced water pressure. A leaky faucet doesn't just waste water and drive up your utility bills; it's also a sign that internal components are wearing out. Investing in a water filtration system can protect your entire home’s plumbing.
The Value of a Professional Tune-Up
While DIY repairs are empowering, sometimes a leak is a symptom of a bigger issue. If you’ve replaced the cartridge and the drip persists, or if you’re just not comfortable with the job, calling a professional is the smartest move. A licensed plumber can quickly diagnose the problem, whether it’s a worn-out valve seat or an issue deeper in your pipes. Our TruLoyalty Membership plans include annual tune-ups to keep your systems running efficiently and catch problems early. A professional inspection provides peace of mind and ensures the job is done right, saving you time and preventing more extensive damage down the road.
Need a Hand? We're Here to Help
If you’ve followed the steps and that drip is still driving you crazy, or if you simply opened everything up and realized you’d rather not deal with it, that’s perfectly okay. DIY projects are rewarding, but sometimes the best tool in your kit is the phone. When a simple fix turns into a complicated puzzle, our team at TruFinity Plumbing Heating & Cooling is ready to step in and sort it out for you, ensuring the job is done right.
Expert Faucet Repair in the Okanagan
Sometimes a leaky faucet is a sign of a bigger issue, or maybe a part is so corroded it refuses to budge. Our Red Seal Certified Plumbers have seen it all. We handle all types of plumbing repairs across the Okanagan with the right tools and expertise to fix your faucet quickly and correctly. Instead of spending your weekend frustrated in the bathroom, you can relax knowing a professional has it handled. We believe in "True Service, Infinite Care," which means providing a reliable fix that gives you lasting peace of mind.
Get Same-Day Service for Your Leak
A persistent leak isn’t just annoying—it wastes water and can lead to bigger problems. We understand the urgency, which is why we offer same-day service to get your home back to normal as soon as possible. Don’t let a drip disrupt your day. As a new customer, you can get $85 OFF any repair, making the decision to call even easier. When you’re ready for a fast and effective solution, you can check out our current rebates and offers and schedule your service with confidence.
Protect Your Home with Our Service Plans
If you want to prevent future plumbing surprises, proactive maintenance is key. Leaky faucets are often caused by worn-out parts that could have been caught during a routine inspection. Our TruLoyalty Membership plans are designed to keep your home’s systems in top shape, helping you avoid the stress of unexpected breakdowns. With regular tune-ups and priority service, you can feel secure knowing your plumbing is cared for year-round. It’s the simplest way to manage your home’s health and avoid future DIY headaches.
Related Articles
- Faucet Repair & Installation Kelowna | TruFinity Plumbing
- Thumb That Plumb: Spotting and Fixing Common Plumbing Problems
- Fixture Replacement Services Kelowna | TruFinity Plumbing
- 24-Hour Emergency Plumber
- Water Heater Services Kelowna | TruFinity Plumbing
Frequently Asked Questions
How long should this repair take me if it's my first time? For a first-timer, you should set aside about an hour from start to finish. This gives you plenty of time to turn off the water, carefully remove the old parts without rushing, and clean the faucet body before installing the new cartridge. If you run into a stubborn, corroded part, it could take longer, so it's always best to start the project when you don't have to be somewhere else soon.
What if I can't find the exact replacement cartridge for my faucet? This is a common frustration, especially with older faucets. Your best bet is to take the old cartridge with you to a dedicated plumbing supply store, as they often have a wider selection than big-box hardware stores. If you still can't find a match, it may be a sign that the model is discontinued. In that case, replacing the entire faucet fixture is often the most practical long-term solution.
I replaced the cartridge, but the faucet is still dripping. What went wrong? Don't worry, this doesn't necessarily mean you did something wrong. The most common reason for a persistent drip is a worn-out valve seat, which is the small brass opening the cartridge seals against inside the faucet body. If this seat is corroded or pitted, even a brand-new cartridge can't create a perfect seal. Replacing a valve seat requires a special tool and can be tricky, so this is usually the point where calling a professional is the best next step.
Is it worth it to just replace the entire faucet instead of only the cartridge? That's a great question, and it really depends on the situation. If your faucet is old, heavily corroded, or you're just ready for a style update, replacing the whole fixture is an excellent choice. It solves the leak and gives your bathroom a fresh look. However, it is a more involved project than a simple cartridge swap. If your current faucet is in good shape and you like its style, replacing just the cartridge is a perfectly effective and budget-friendly fix.
How much water does a small drip actually waste? It's shocking how quickly it adds up. A single faucet dripping just once per second can waste over 11,000 litres of water in a year. That's enough to fill more than 70 bathtubs. Fixing that small leak not only restores your peace and quiet but also makes a real difference on your water bill and helps conserve a valuable resource.

.webp)